Winter 2024
Small Indoor Winter Pleasures
by Cynthia Engers
Herbs

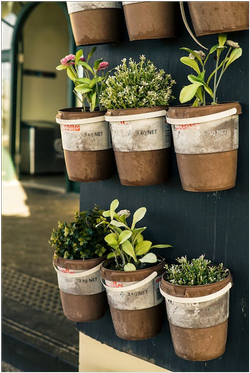
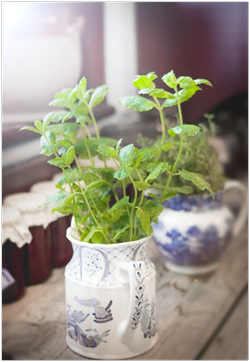
Popular choices for indoor herbs include chives, basil, lavender, parsley, mint, rosemary, oregano, tarragon, sage, and thyme. Coriander and mint are good options as well. Basil, parsley, and cilantro generally grow well from seed.1
Microgreens
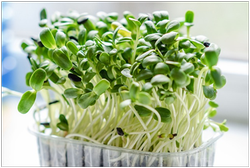
If you’d like to expand your horizons or simply want faster rewards for your efforts, consider starting microgreens. Microgreens are herbs and vegetables harvested as seedlings, often 10 days to 2 weeks after planting. Generally, they can be harvested when 2-4” tall.

Good choices for microgreens include chia, cress, mustard greens, radish, arugula, borage, basil, cilantro and other leafy herbs. If you’re a novice at starting seeds, you might try broccoli, which germinates reliably and quickly produces a hearty sprout.
Whether you're growing standard herbs or microgreens, you’ll follow the same general procedures.
Growing site
Like most vegetables, herbs and microgreens like lots of light. They will need at least 6 hours of sunlight per day. A sunny windowsill near the kitchen is ideal.
Alternatively, you can use artificial lighting. In this case, follow the manufacturer's instructions for the grow lights. This will usually be 12-16 hours of light per day.
Planting the seeds or seedlings

Purchase a soil-less potting mix or seed-starting mix. Select containers at least 4” deep. Fill the pot to about 1” from the top with moistened potting mix (water content should be similar to a wrung-out sponge.)
For herbs, use about 5 seeds per pot, but for microgreens, cover 1/3 to 1/2 of the soil surface with seeds. Gently press the seeds into the soil. Cover the seeds with around 1/8” of soil and mist the soil.
Most herb seeds are small. For larger seeds, you can speed up germination by soaking the seeds in water for 6–12 hours. Mixing seeds with fine sand can help with even distribution, and using a clear cover helps keep the seeds warm. Be sure to remove the cover once the seeds germinate.
Caring for the pots
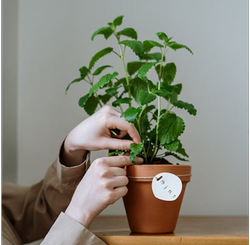
Mist the containers regularly to keep the soil moist.
Once the seedlings appear, it’s useful to rotate the containers occasionally to allow all parts of the containers to receive equal sunlight.
It will generally not be necessary to fertilize the containers. However, if, for some reason, the herbs remain indoors and are not transplanted in the spring, consider adding some diluted vegetable fertilizer to replenish the nutrients in the planting mix.
Since plants dislike sitting in water, empty any standing water when using saucers.
Harvesting


References/Links
How to Grow Microgreens webinar presented by UCMGCC Andrea Salzman
Microgreens are houseplants you can eat (UCANR)
Grow herbs! (UCCE Master Gardeners of Sacramento County)
https://sacmg.ucanr.edu/Grow_Herbs/
Winter Herbs Indoors (UC Master Gardener Program of Sonoma County)
https://sonomamg.ucanr.edu/Food_Gardening/Additional_KG_Articles/Winter_Kitchen_Herb_Gardens/
Footnote 1: Common and Scientific names for Herbs (Herbaceous plants) mentioned in this article:
Chives ‘Allium schoenoprasum’
Basil ‘Ocimum Basilicum’
Lavender ‘Lavandula’
Parsley ‘Petroselinum Crispum’
Mint ‘Mentha’
Rosemary ‘Rosmarinus Officinalis’
Oregano ‘Origanum Vulgare’
Tarragon ‘Artemisia Dracunculus’
Sage ‘Salvia Officinalis’
Thyme ‘Thymus Vulgaris’
Cilantro ‘Coriandrum Sativum
